
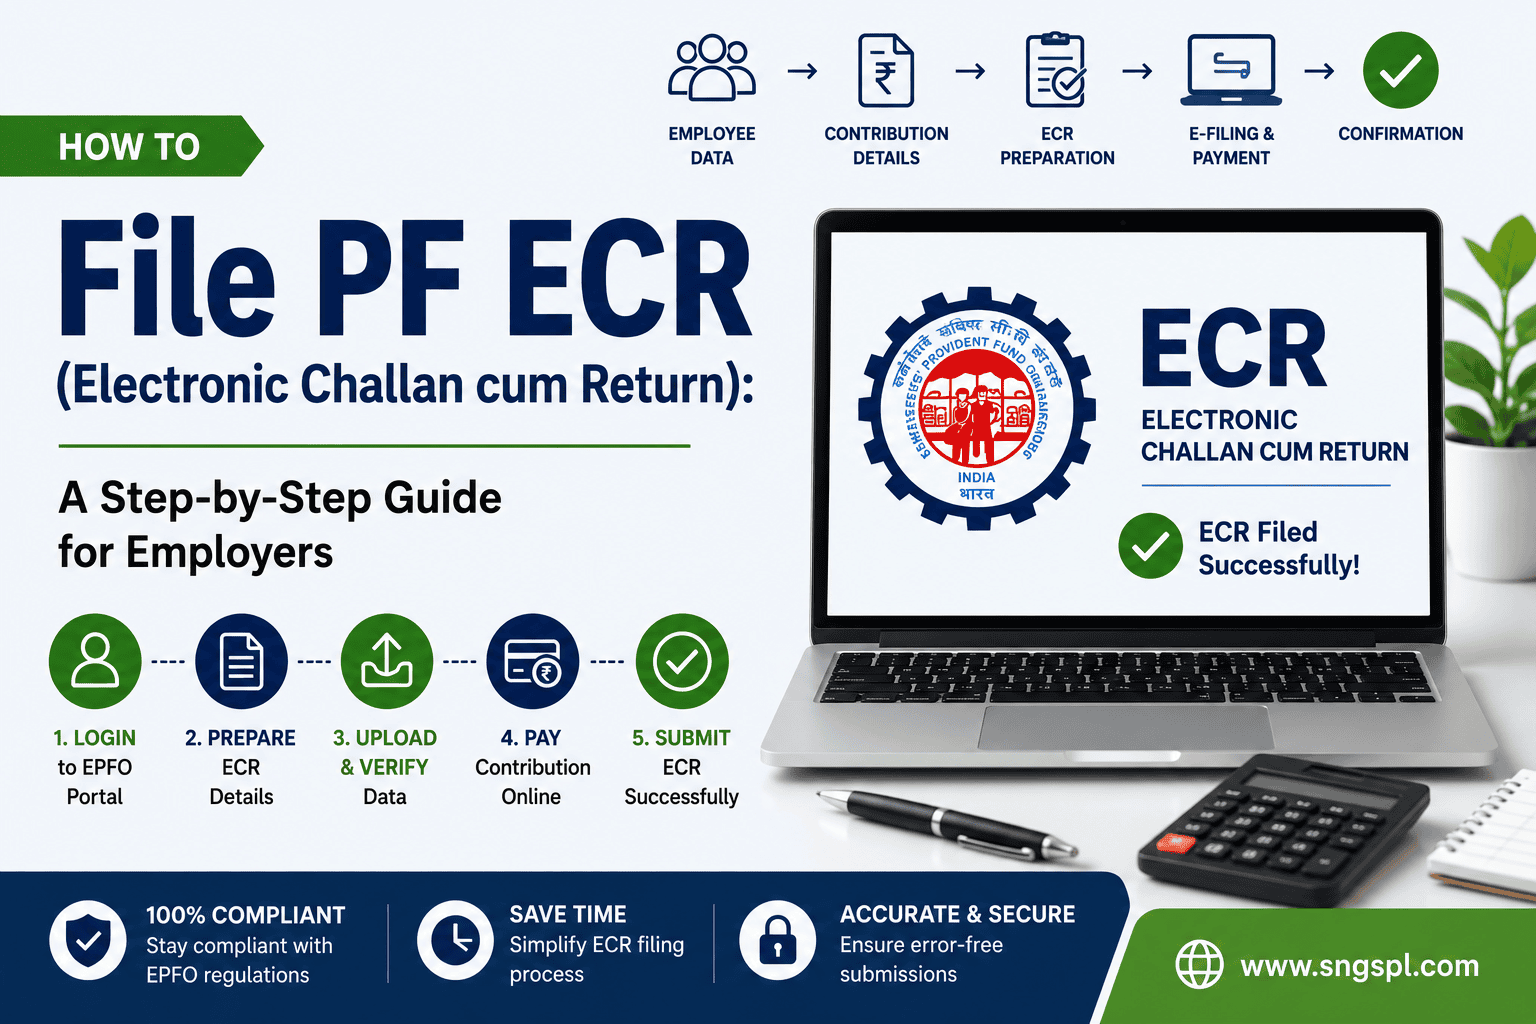
Every registered establishment in India must file a Provident Fund return every single month — no exceptions, and no grace period if you miss it. EPFO calls this return the ECR, or Electronic Challan cum Return, and it tells EPFO exactly how much each employee earned, how much you deducted, and how much your business owes across EPF, EPS, and EDLI accounts.
For HR and payroll teams, ECR filing can feel like a recurring fire drill around the 15th of every month. It doesn’t need to be. This guide walks through the entire process — from preparing your file to generating the final challan — so you can file accurately and on time, every month.
What Exactly Is the ECR?
The ECR is a consolidated monthly electronic return that combines two things EPFO used to require separately: the statement of employee-wise contributions, and the challan for paying those contributions. Once you upload and verify your ECR, the portal generates a payment challan directly from it — there’s no separate paperwork, no physical submission, and no need to file older forms like 5, 10, 12A, 3A, or 6A individually, since the ECR data feeds all of that automatically.
Filing is mandatory for every establishment registered with EPFO, regardless of company type — private limited companies, LLPs, proprietorships, trusts, NGOs, and startups all fall under this rule. Even if your establishment has zero contribution to report for a month, you must still file a Nil ECR.
Before You Start: What You Need Ready
Rushing into the portal without your data organised is the single biggest reason ECR filings fail on the first attempt. Before you log in, have the following ready:
- Active, KYC-linked UANs for every employee — an ECR row cannot go through with an invalid or inactive UAN, and mismatched UAN records are consistently the leading cause of rejected filings
- Finalised payroll data for the wage month — gross wages, EPF wages, EPS wages, and EDLI wages per employee
- Non-Contributory Period (NCP) days, if applicable, for employees on leave without pay
- Your Establishment ID and current portal password (EPFO periodically forces password resets, so confirm access a day or two before your deadline, not on the 15th itself)
Step 1: Prepare Your ECR Text File
Your payroll software or HRMS should be able to export this automatically, but it’s worth understanding the structure so you can catch errors before upload. The EPFO-prescribed ECR format uses 11 columns per employee, with the delimiter #~# separating each field, in this exact order:
- UAN
- Member Name
- Gross Wages
- EPF Wages
- EPS Wages
- EDLI Wages
- EPF Contribution (Employee Share)
- EPS Contribution
- EPF Contribution (Employer Share, i.e., EPF-EPS Difference)
- NCP Days
- Refund of Advances
A few formatting rules that trip people up:
- No special characters in employee names other than a period
- Column sequence must match exactly — the portal won’t reorder fields for you
- Every row needs a valid, active UAN already seeded with Aadhaar in the EPFO system
Step 2: Log In to the EPFO Unified Portal
Go to the official EPFO employer portal and sign in using your Establishment ID, password, and captcha. After you log in, you’ll land on the Employer Dashboard. Before doing anything else, quickly verify that your establishment details — name, PF code, address, and exemption status — are showing correctly. Catching a stale detail here saves a support ticket later.
Step 3: Navigate to ECR Upload
From the top navigation, go to Payments → ECR Upload (on some portal versions this appears under “ECR/Return Filing”). Here you’ll select:
- Wage month and year — the month the salary relates to, not the month you’re filing in
- Salary disbursal date
- Rate of contribution — 12% or 10%, depending on your establishment category (12% is the default and applies to most employers)
Then select your prepared .txt file and click Upload.
Step 4: Validate the File
The portal automatically checks your uploaded file against a set of predefined conditions — valid UANs, correct contribution percentages, proper wage ceiling application to EPS, and NCP days that don’t exceed the days in the month.
- If validation fails, you’ll get an error log identifying exactly which rows or fields are the problem. Fix these in your source file and re-upload — don’t try to patch the text file manually inside the portal.
- If validation succeeds, the status changes to “Validation Successful” and you can move forward.
Step 5: Review the Contribution Summary
After the file passes validation, the portal displays a summary: total member count, total wages, and the contribution breakup across EPF, EPS, EDLI, and administrative charges. This is the step employers most often rush — don’t. Cross-check this summary against your payroll register line by line before approving. Once you verify and lock the file, corrections require a supplementary ECR, which adds delay and paperwork you can avoid by catching mismatches now.
Step 6: Generate the Challan (TRRN)
After verification, click Generate Challan (or Generate TRRN, depending on the portal version). This produces your Temporary Return Reference Number (TRRN) and finalises the challan amount, including administrative charges for Account 2 (EPF admin, 0.50% of EPF wages, subject to a minimum fee) and Account 22 (EDLI admin, currently nil).
Step 7: Make Payment
With the challan generated, proceed to payment through the portal’s integrated payment gateway — net banking is the standard route, and some establishments retain the option of paying at a designated bank branch. Once payment clears, the portal links the challan and ECR automatically, and employees typically get an SMS confirmation once their contribution reaches their account.
Important: If you upload an ECR but don’t complete payment, the challan lapses after 15 days of generation — so don’t generate the challan until you’re ready to pay.
Step 8: Download and Archive Records
Once payment clears, download the finalised ECR statement, challan copy, and TRRN receipt. Store these securely — EPFO recommends retaining ECR filings, payment challans, and receipts for a minimum of five years for audit purposes.
Filing Deadline and Penalties for Delay
The statutory due date is the 15th of the month following the wage month — for example, employers must file and pay June 2026 wages by 15 July 2026. There is generally no standing grace period, though EPFO has occasionally issued short extensions during system transitions.
Miss the deadline, and two penalties apply simultaneously:
- Interest under Section 7Q: typically 12% per annum on the delayed amount, calculated from the due date
- Damages under Section 14B: ranging from 5% to 25% per annum depending on the length of delay
The portal usually auto-calculates both when you generate a delayed challan, so you’ll see the exact penalty amount before you pay.
Common ECR Filing Errors (and How to Avoid Them)
| Error | Why It Happens | Fix |
|---|---|---|
| Invalid or inactive UAN | Employee UAN not generated or not Aadhaar-seeded | Generate and verify UAN during onboarding, not at filing time |
| Wage mismatch | ECR wages don’t match payroll register | Reconcile payroll and ECR figures before every upload |
| Wrong column sequence or delimiter | Manual file editing outside payroll software | Always export directly from your HRMS in EPFO’s 11-column format |
| NCP days exceeding calendar days | Data entry error for leave-without-pay employees | Cross-check attendance records before finalising payroll |
| Filing after the 15th | Waiting until the deadline to start | Begin ECR preparation as soon as payroll is finalised, not on the 14th |
Quick Reference Checklist
- Payroll finalised and reconciled for the wage month
- All employee UANs active and Aadhaar-linked
- ECR
.txtfile exported in the correct 11-column format - Establishment details verified on the portal dashboard
- File uploaded and validated with zero errors
- Contribution summary cross-checked against payroll register
- Challan generated and payment completed before the 15th
- ECR, challan, and TRRN receipts downloaded and archived
Frequently Asked Questions
What happens if I upload an ECR but forget to pay? The challan lapses after 15 days without payment, meaning you’ll need to regenerate it — and if this pushes you past the 15th, interest and damages will apply.
Do I need to file ECR even if no employee earned wages that month? Yes — file a Nil ECR to stay compliant, even with zero contributions to report.
Can I correct an ECR after it’s been submitted? Yes, through a supplementary ECR, but this is extra work and can trigger additional scrutiny — it’s far easier to catch errors at the validation and summary-review stages.
Is a Digital Signature Certificate (DSC) mandatory for ECR filing? Not for every function on the portal. If you have a DSC, using it adds a layer of security, but OTP-based verification works for most employer actions that don’t specifically call for a DSC.
Let SNGSPL Handle Your ECR Filing
Between reconciling payroll, chasing UAN activations, and racing the 15th-of-the-month deadline, ECR filing is exactly the kind of recurring compliance task that quietly eats HR bandwidth — and one missed deadline can mean real financial penalties. SNGSPL manages end-to-end PF and payroll compliance for growing Indian businesses, including monthly ECR preparation, validation, challan generation, and timely payment, so your team never has to worry about the 15th again. Talk to SNGSPL about outsourcing your PF compliance.
Disclaimer: This guide reflects EPFO’s Unified Portal process as publicly available guidance generally describes it. Screen names, menu paths, and specific portal features may vary as EPFO rolls out system updates. Always cross-check current steps against the official EPFO portal or your compliance advisor.